Blurring a video background is a popular editing technique to draw attention to the subject, create a professional aesthetic, or hide distractions in the background. CapCut, a versatile video editing app, makes this process simple and accessible.
If you’re wondering how to blur the video background in CapCut, here’s a detailed guide on using various methods, along with additional tips and solutions.
If you’re exploring background effects, you might also be interested in learning how to use green screen in CapCut to replace your video background entirely.
Introduction To CapCut
CapCut is a free video editing app with powerful features that cater to beginners and professionals alike. One of its standout features is the ability to blur the video background, which can be done through several tools like effects, chroma key, or AI-powered cutout options.
Background blurring is useful for enhancing the focus on the subject, improving video aesthetics, or maintaining privacy when sharing content online.
However, if you’re looking for additional features or advanced options, you might consider exploring CapCut Mod APK. One of its standout capabilities is the ability to blur the video background, which can be done through tools like effects, chroma key, or AI-powered cutout options.
How to blur video background in CapCut (Methods)
Using the Blur Effect
The easiest and quickest way to blur the background is by applying a blur effect directly to your video. Here’s how:
Open CapCut and Import the Video:
Launch the CapCut app and create a new project.
Select and import the video you want to edit.
2. Apply the Blur Effect:
Tap on the video layer to select it.
Navigate to the “Effects” panel in the toolbar.
Look for the “Basic” or “Lens” category and select a blur effect that suits your needs (e.g., Gaussian Blur or Background Blur).
3. Adjust the Effect:
After applying the blur effect, use the sliders to adjust the intensity, size, and placement.
Ensure the blur aligns with the background and doesn’t obscure the subject.
Using the Chroma Key and Background Blur
For a more precise blur that isolates the subject, you can use the chroma key tool. This method is effective if the background has a distinct color.
Import and Duplicate the Video:
Add your video to the timeline.
Duplicate the video layer by tapping on it and selecting “Duplicate.”
2. Use the Chroma Key Tool:
Select the top layer and go to the “Chroma Key” option
Pick a color from the background using the color picker tool and adjust the “Strength” and “Shadow” sliders to refine the selection.
3. Apply Blur to the Background Layer:
Select the bottom layer and apply the blur effect as explained earlier
Ensure the edges are smooth by adjusting the feathering options in the chroma key settings
AI Portrait or Cutout Tool
CapCut’s AI-powered cutout tool automates the process by isolating the subject from the background.
Select the Cutout Option:
Tap on the video layer and navigate to the “Cutout” tool.
Enable the “Remove Background” option to isolate the subject automatically.
2. Blur the Background:
Add a new background layer or duplicate the original layer.
Apply the blur effect to the background layer while keeping the isolated subject sharp.
3. Fine-Tune the Cutout:
Use the “Edge Feathering” option to soften the transition between the subject and the blurred background.
Common Mistakes To Avoid While blur video Background in CapCut
When you blur the video Background in CapCut, it’s essential to avoid some common mistakes to ensure your output looks polished and professional. Here are key mistakes to steer clear of:
Ignoring Subject Selection
Mistake: Failing to properly isolate the subject before applying the blur effect, causing the blur to spill over onto the main subject.
Fix: Use the Remove Background or Cutout tool to separate the subject from the background accurately
Overusing the Blur Effect
Mistake: Applying an excessively strong blur can make the video look unnatural or distracting.
Fix: Adjust the intensity of the blur to ensure it looks smooth and realistic.
Low-Quality Footage
Mistake: Starting with low-resolution footage, which makes blurring look pixelated and unprofessional.
Fix: Use high-resolution videos to ensure the blur appears clean and seamless.
Misaligned Layers
Mistake: Misaligning the subject and background layers, causing a noticeable gap or overlap.
Fix: Carefully position the layers and ensure the subject matches the blurred background.
Inconsistent Background Blur
Mistake: Using a static blur when the subject is in motion makes the effect look unnatural.
Fix: Apply motion tracking to ensure the blur moves dynamically with the subject.
Forgetting to Check Edges
Mistake: Ignoring the edges of the subject, which can result in jagged or unnatural transitions between the subject and the blurred background.
Fix: Use the feathering option to smooth out the edges for a seamless blend.
Skipping Preview Checks
Mistake: Not reviewing the video after applying the blur, leading to unnoticed issues like glitches or uneven effects.
Fix: Always preview the video in full before exporting to identify and correct any mistakes.
Neglecting Lighting and Color
Mistake: Not adjusting the lighting or color of the background, causing a mismatch between the subject and the blurred background.
Fix: Use the color grading or filter tools to ensure harmony between the subject and the background.
Pro Tips for Better Background Blur
Use High-Resolution Footage: Higher-resolution videos result in cleaner edges and better blur effects.
Experiment with Blur Styles: Try different blur effects like radial blur for creative edits.
Combine Effects: Enhance the blurred background with color grading or overlays for a cinematic look.
Use Cases of Background Blur
Social Media Content: Highlight yourself in TikTok, Instagram, or YouTube videos.
Professional Videos: Create polished presentations or interviews with a clean look.
Artistic Edits: Experiment with aesthetic effects for short films or creative projects.
FAQs
Yes, you can use the masking tool to blur specific areas manually.
Yes, all the mentioned tools are available in the free version of CapCut.
Apps like KineMaster and Adobe Premiere Rush also offer advanced blurring options.
Conclusion
Now that you know how to blur video background in CapCut, you can instantly give your content a more professional and cinematic feel—right from your phone. Whether you’re editing a vlog, a TikTok, or a product video, background blur helps keep the focus on what truly matters.
Ready to enhance your next project? Open CapCut and try these steps today—don’t forget to share this guide with others who want to learn how to blur video background in CapCut easily.
After blurring your video background, you can make your edits even more dynamic by learning how to add velocity in CapCut to create smooth slow-motion and speed ramp effects.
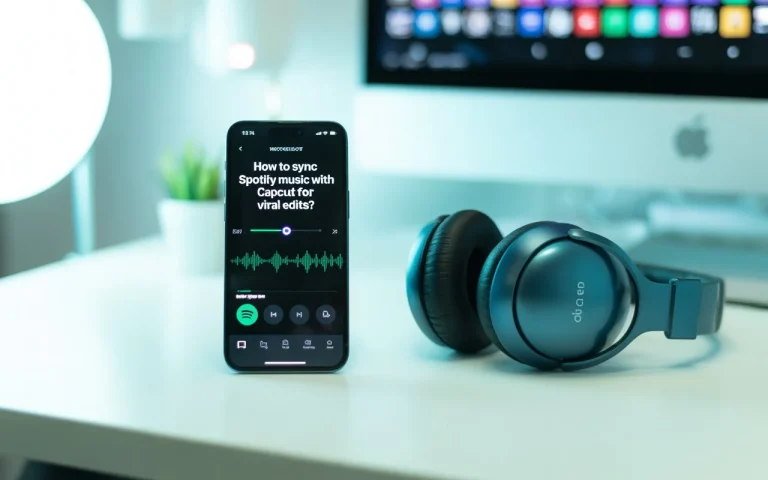
Sync Spotify Music with CapCut Music plays a massive role in making videos go viral, and both Spotify and CapCut dominate in their own spaces. Spotify is the world’s largest music streaming platform, while CapCut is one of the most used video editors for TikTok, Instagram Reels, and YouTube Shorts. Many creators want to know:…
CapCut AI Video Translator Breaking language barriers in video once meant hours of manual subtitling, costly tools, or hiring translators. In 2025, CapCut has changed that forever with its AI Video Translator—a tool that instantly translates videos into multiple languages so you can reach global audiences in just a few clicks. Whether you’re a YouTuber,…
Imagine opening CapCut to edit your next video, only to be stuck on a login error screen. Frustrating, right? Many creators. Whether you are a beginner video editor or a content creator preparing your next viral reel, being locked out of CapCut can delay your work. The good news is that most CapCut login issues…
Are you wondering how to reverse a video in CapCut? Whether you’re creating a cool rewind effect, adding some cinematic flair, or just experimenting with fun edits, reversing a video in CapCut is easier than you think. In this blog post, I’ll walk you through how to reverse a video in the official or mod…
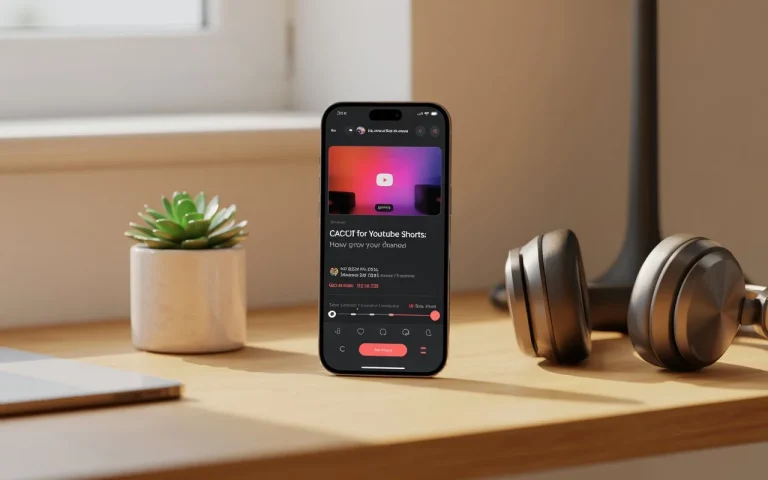
YouTube Shorts are reshaping how creators go viral — and CapCut for YouTube Shorts is the ultimate secret weapon. Whether you’re a beginner or an experienced YouTuber, CapCut gives you everything you need to make scroll-stopping, shareable, and professional-quality Shorts — for free. From ready-made templates to AI-powered effects, this editor makes growth simple. In…
Finding the perfect template can make all the difference when creating eye-catching videos, but getting these templates onto CapCut isn’t always straightforward. With CapCut’s popularity soaring, many creators want quick access to trending templates that can enhance their edits and save time. If you’ve ever struggled to download CapCut templates or felt limited by the…