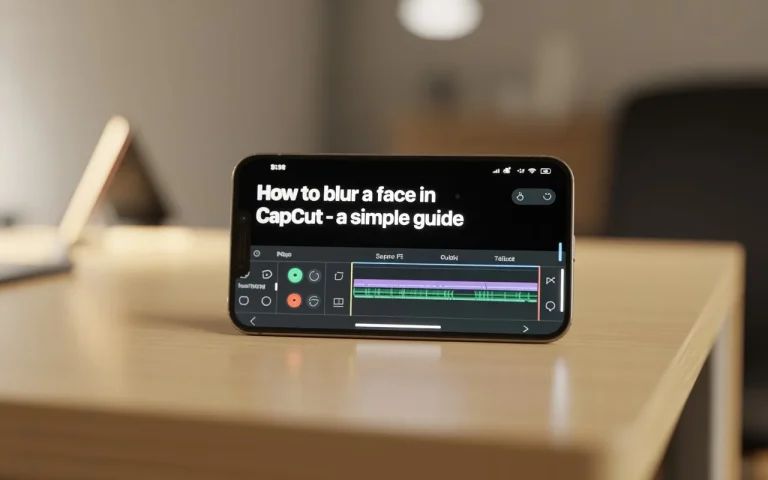
How to Scan a CapCut QR Code from the Gallery or Camera?
You’re scrolling through videos and suddenly see a CapCut QR code that promises a ready-made template—but you don’t know how to use it. Don’t worry, you’re not alone. Many creators struggle with scanning QR codes inside CapCut, especially when trying to access trending templates quickly. The good news? It’s actually very simple once you know where to look.
In this guide, you’ll learn how to scan a CapCut QR code step by step, along with tips, fixes, and common mistakes to avoid.
What Is a CapCut QR Code?
A CapCut QR code is a scannable code used in the CapCut app to quickly share or access content like video templates, projects, or editing presets. Instead of sending a long link, CapCut lets users generate a QR code. When someone scans it (using CapCut or their phone camera), it instantly opens the shared content inside the app.
⚙️ How It Works
- A user creates or selects a template/project in CapCut
- They generate a QR code from the share option
- Another user scans the code
- The content opens automatically inside CapCut
💡 Example Use Case
You see a viral edit on TikTok. The creator shares a CapCut QR code—scan it, and you can use the same template in seconds.
Why It’s Useful
- Saves time (no searching for templates)
- Keeps edits consistent across users
- Makes sharing super simple—even offline
How to Scan CapCut QR Code (Step-by-Step)
Follow these simple steps to scan and use a QR code in CapCut:
Method 1: Scan Directly Inside CapCut
- Open the CapCut app
- Go to the Templates section
- Look for the Scan / QR Code icon
- Tap on it
- Point your camera at the QR code
- Wait for CapCut to detect it
- Tap Use Template
👉 That’s it! The template will open instantly.
Method 2: Scan Using Phone Camera
If the QR code is on another device:
- Open your phone’s Camera app
- Scan the QR code
- Tap the link that appears
- It will automatically open in CapCut
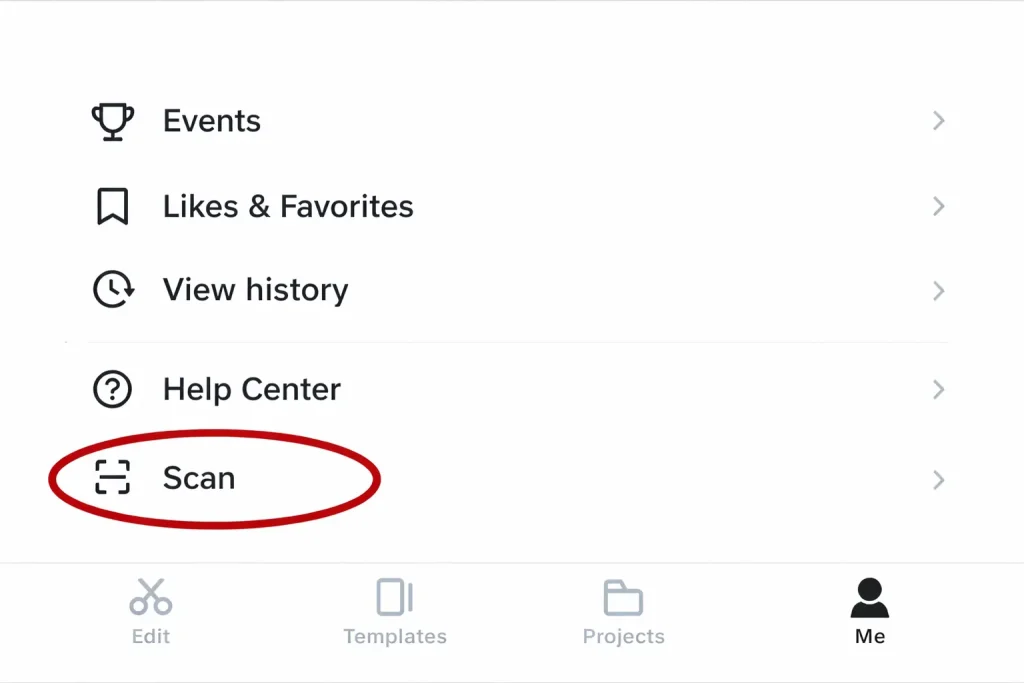
Method 3: Scan from a screenshot
If you have a QR code saved:
- Take a screenshot of the QR code
- Open CapCut
- Go to the scan option
- Select Upload from Gallery
- Choose the screenshot
- CapCut will scan it automatically
Common Problems When Scanning QR Codes
Sometimes QR scanning doesn’t work. Here are common issues:
1. QR Code Not Scanning
This can happen due to:
- Poor lighting
- Blurry image
- Camera focus issues
👉 Fix: Use good lighting and keep the camera steady.
2. CapCut Not Opening After Scan
Sometimes the link doesn’t open.
👉 Fix:
- Update CapCut
- Check the internet connection
- Restart the app
3. Invalid QR Code
If the QR code is expired or broken, it won’t work.
👉 Fix:
- Try another QR code
- Make sure it’s from a trusted source
4. Login Problems
If your QR code isn’t opening after scanning, it might be related to a login glitch. In that case, you can follow this CapCut login problem and solution guide to fix account-related issues.
How to Create a CapCut QR Code?
Method 1: Share a Template (Most Common)
- Open CapCut
- Tap Templates or finish editing your video
- Tap Share
- Select Share as Template
- CapCut will generate a QR code + link
- Save or screenshot the QR code
👉 You can now share it on social media or even print it.
Method 2: Share a Project
- Open your project in CapCut
- Tap the Upload / Share button
- Choose Share via QR Code (if available)
- Save the QR code
Final Thoughts
Scanning QR codes inside CapCut is a simple feature, but it can make a big difference in how quickly you access templates and start editing. Once you know where the Scan option is and how to use it, the whole process becomes fast and effortless.
Most issues people face—like scanning not working or templates not opening—are usually small glitches related to the internet, app updates, or image quality. With the right steps, these can be fixed within minutes.
For content creators, learning this feature saves time and helps you stay updated with trending edits shared across platforms like TikTok and Instagram. The key is to keep your app updated, use clear QR codes, and follow a smooth workflow.
In short, once you get familiar with this option, it becomes a powerful shortcut for faster and smarter video editing.