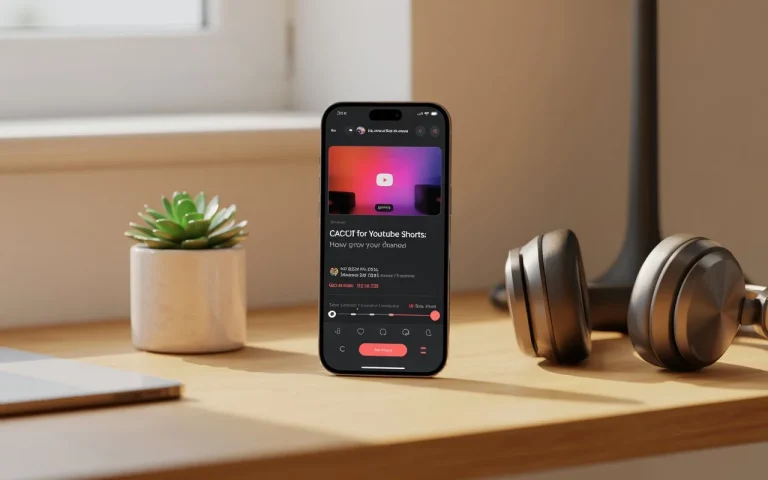
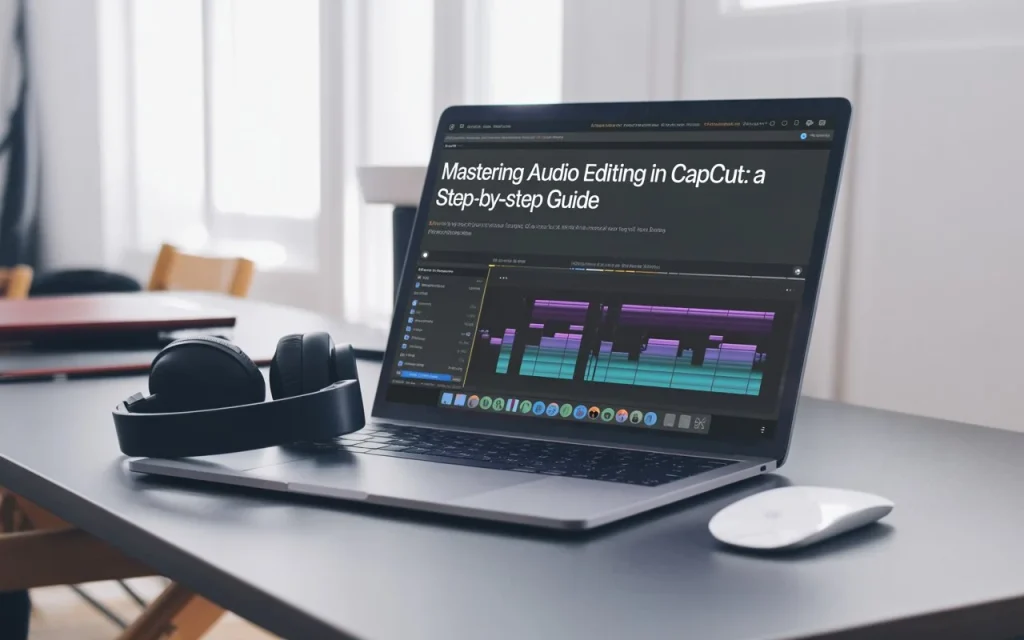
How to edit audio in CapCut? Mastering Audio Editing in CapCut
Ever watched a video that looked great but didn’t sound right? That’s where Audio Editing in CapCut makes all the difference. CapCut doesn’t just offer powerful visual tools — it gives you complete control over your sound too. Whether you’re creating a YouTube Short, TikTok edit, or cinematic vlog, mastering audio can instantly elevate your content. In this guide, we’ll walk you through everything from adding background music to fine-tuning sound effects — so your videos sound just as amazing as they look.
🎵 What Is Audio Editing in CapCut?
Audio editing in CapCut is the process of fine-tuning your video’s sound elements — including voiceovers, music, and sound effects — to match your visuals perfectly. CapCut provides creators with an intuitive interface that allows quick trimming, fading, syncing, and layering without any complex audio software.
Great audio can turn average videos into scroll-stopping masterpieces. Clear sound grabs attention, builds emotion, and keeps viewers hooked longer. CapCut makes audio control simple — perfect for creators who want quality without complicated software.
Audio Editing in CapCut in [7 Steps]
1. Getting Started with Audio Editing in CapCut
Before diving into tools, make sure you’ve got the latest version of CapCut installed. Once your project is open:
- Tap the “Audio” icon in the bottom toolbar.
- Choose from Sounds, Extracted Audio, Voiceover, or Effects.
- Import your clip or pick from CapCut’s built-in music library.
💡 Tip: Keep your background music subtle if you’re including dialogue — your voice should always be the star.
2. Adding Background Music
To add background music in CapCut:
- Tap Audio → Sounds → Your Files or choose from CapCut’s library.
- Adjust the track’s length, start point, and fade-in/out.
- Use the Split tool to sync beats with transitions.
🎧 Pro Tip: Choose royalty-free or CapCut-provided music to avoid copyright issues on YouTube or TikTok.
👉 Learn more about adding sound in our guide: How to Add Music in CapCut
3. Editing Voiceovers in CapCut
Narration and commentary make your videos feel personal. To record a voiceover:
- Tap Audio → Voiceover → Record.
- Speak clearly while watching your timeline playback.
- Trim, fade, and adjust your volume afterward.
You can even remove background noise or pair your voiceover with subtle sound effects for a professional finish.
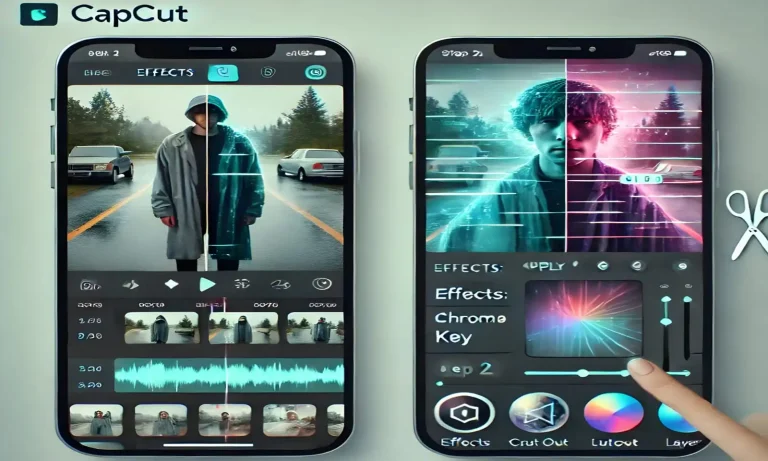
4. Using Sound Effects (SFX) to Enhance Emotion
CapCut’s sound effects library adds life to your clips — from nature sounds to cinematic hits.
To use:
- Tap Audio → Effects.
- Browse categories like Nature, Cinematic, Funny, or Transitions.
- Drag and drop them at key moments — like scene changes or actions.
5. Mastering Fade In, Fade Out, and Volume Control
Smooth transitions in audio are just as important as video cuts.
- Fade In: Makes the music start softly.
- Fade Out: Creates a smooth ending.
- Volume Control: Helps balance background and voice audio.
To adjust:
- Tap your audio clip → Volume.
- Drag sliders or apply fade options manually.
🎚 Pro Tip: Keep your dialogue between -6dB and -12dB for clarity, and music around -18dB for balance.
6. Syncing Audio with Video Transitions
CapCut allows frame-accurate syncing. Use the Beat Sync feature or manually line up audio spikes with cuts or effects.
- Add a beat marker to visualize rhythm.
- Match transitions with music drops or snare hits for cinematic pacing.
🎵 Bonus: CapCut’s AI Beat Sync auto-aligns your clips with background music perfectly — great for short-form content.
7. Using Advanced Audio Tools in CapCut
CapCut’s updates in 2025 brought new audio features:
- Noise Reduction: Cleans background hiss from recordings.
- Pitch Adjustment: Modify tone or mood for creative effects.
- Voice Effects: Turn your voice robotic, deep, or cinematic.
These tools let you experiment with your video’s energy and character
8. Exporting Videos with Perfect Sound
When your edit is done:
- Tap Export → Choose 1080p or 4K.
- Enable High Bitrate for better sound clarity.
- Preview before posting — check volume on both phone and headphones.
⚠️ Common Audio Editing Mistakes to Avoid
- Overpowering background music — it distracts from speech.
- Ignoring fade transitions — leads to sudden, jarring volume cuts.
- Using copyrighted tracks — can result in content removal.
- Not testing on multiple devices — what sounds good on headphones may distort on phones.
🌟 Pro Tips to Take Audio Editing in CapCut Further
- Combine CapCut with LUTs and color grading for professional polish → How to Use LUTs in CapCut.
- Use trending sounds from TikTok for better reach.
- Sync sound effects precisely with motion transitions.
- Keep experimenting with tempo and silence — quiet moments can be powerful too.
Frequently Asked Questions
Final Thoughts
Mastering audio editing in CapCut isn’t about complex tools — it’s about controlling how your audience feels. When you combine great visuals with perfect sound balance, every clip tells a story that connects deeper.
Whether you’re creating for YouTube, Instagram, or TikTok, CapCut makes professional-quality sound editing simple for everyone.
Want to unlock CapCut’s premium audio filters, transitions, and tools?
Download the CapCut Mod APK for access to pro-level sound editing, no ads, and no watermarks.
Start creating videos that look and sound cinematic — right from your phone