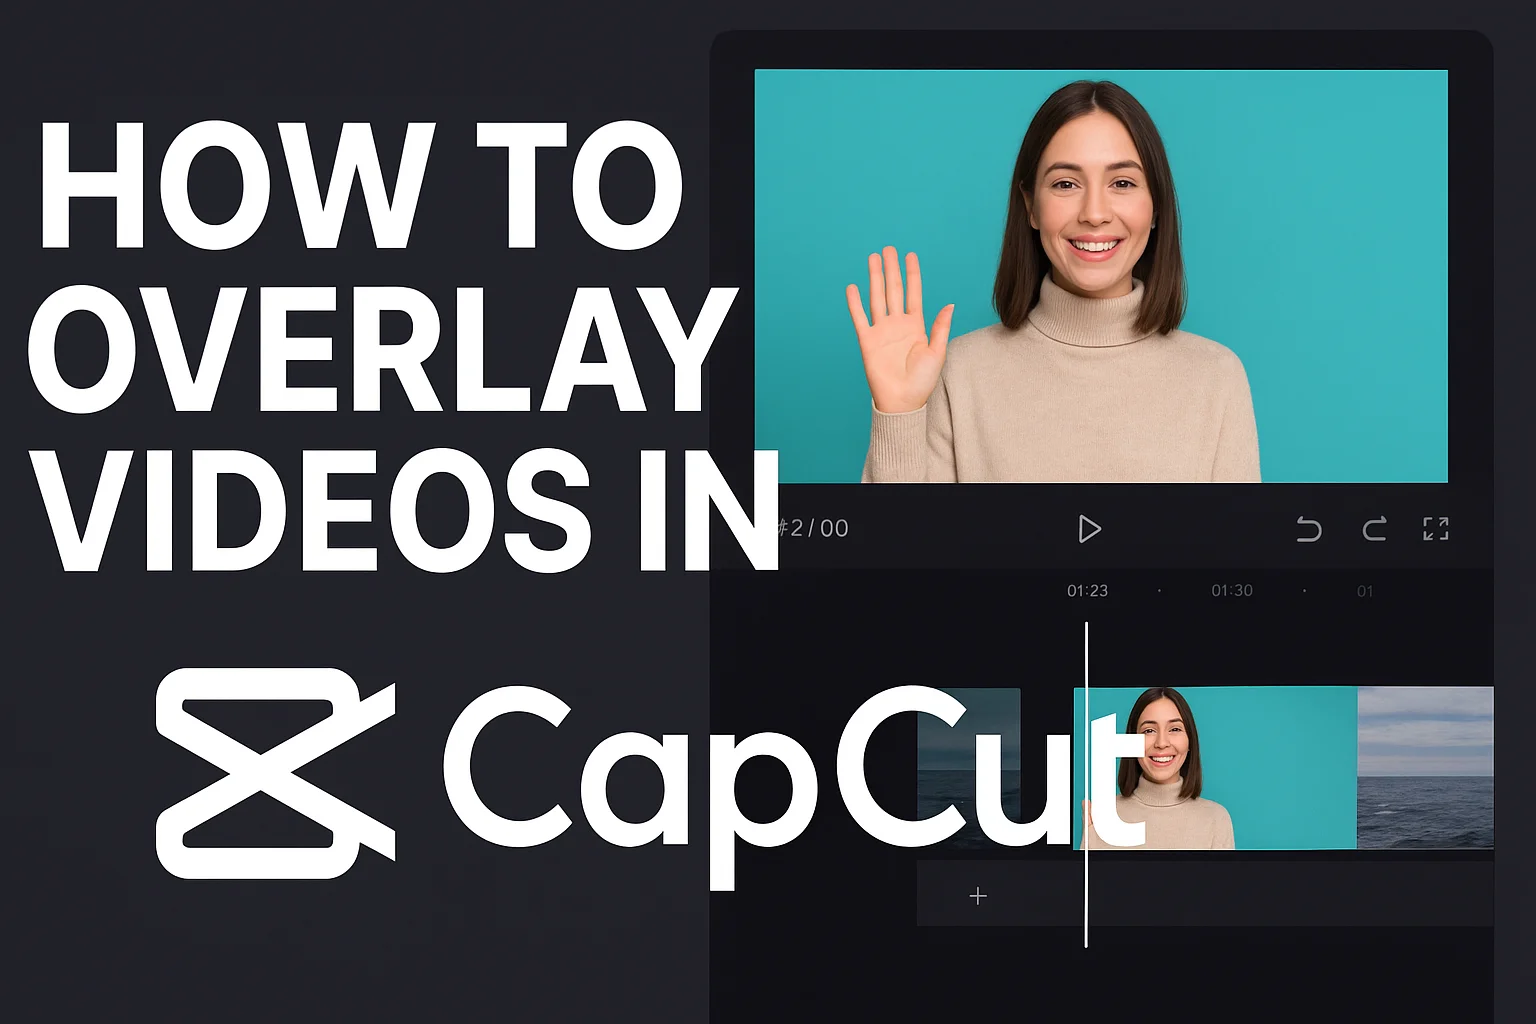
How to Overlay Videos in CapCut Like a Pro Latest in [8 Steps]
If you’ve ever scrolled through Instagram Reels, YouTube Shorts, or TikTok and noticed videos with another video playing in a corner or blended on top, you’ve seen a video overlay in action. This effect is not just visually appealing — it’s a powerful storytelling tool.
In this detailed guide, I’ll walk you through how to overlay videos in CapCut, share my personal editing tips, and give you insider tricks to make your overlays look professional and trend-ready.
What is a Video Overlay in CapCut?
A video overlay is when you place one video or image over another within the same frame. This can be:
- Picture-in-picture (PIP): For reaction videos or commentary.
- Side-by-side comparisons: For before-and-after transformations.
- Cinematic blends: For music videos, travel montages, or aesthetic edits.
CapCut allows you to overlay videos effortlessly without needing expensive editing software like Adobe Premiere or Final Cut Pro.
Why Use CapCut for Video Overlays?
I’ve tested multiple mobile editing apps over the years, and here’s why CapCut stands out for overlays:
- Beginner-friendly interface – You don’t need prior editing experience.
- Advanced customization – Change position, size, opacity, and blend modes with ease.
- Chroma key support – Remove green screen backgrounds directly in the app.
- Free high-quality export – No watermark if you start from scratch instead of using pre-made templates.
- Cross-platform editing – Available on both CapCut Mobile and CapCut for PC.
Step-by-Step Guide: How to Overlay Videos in CapCut
Here’s the exact process I use when creating overlay edits for my social media content.
Step 1 – Create a New Project
- Open CapCut and tap New Project.
- Select your main video from your gallery.
- This will be your background footage where the overlay will appear.
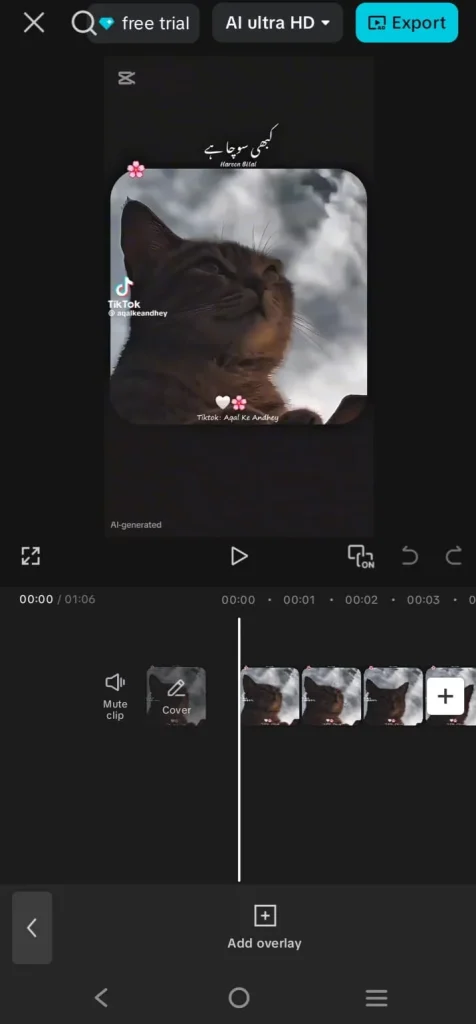
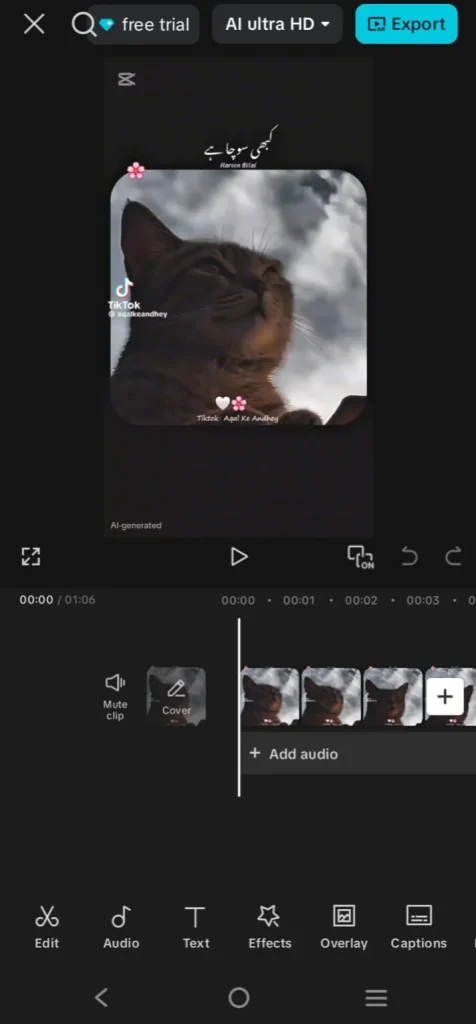
Step 2 – Add the Overlay Video or Image
- Tap Overlay from the toolbar at the bottom.
- Select Add Overlay.
- Choose the secondary video or image you want to place on top of your main video.
Example: If you’re making a gaming commentary, your main gameplay video will be in the background, and your webcam recording will be the overlay.
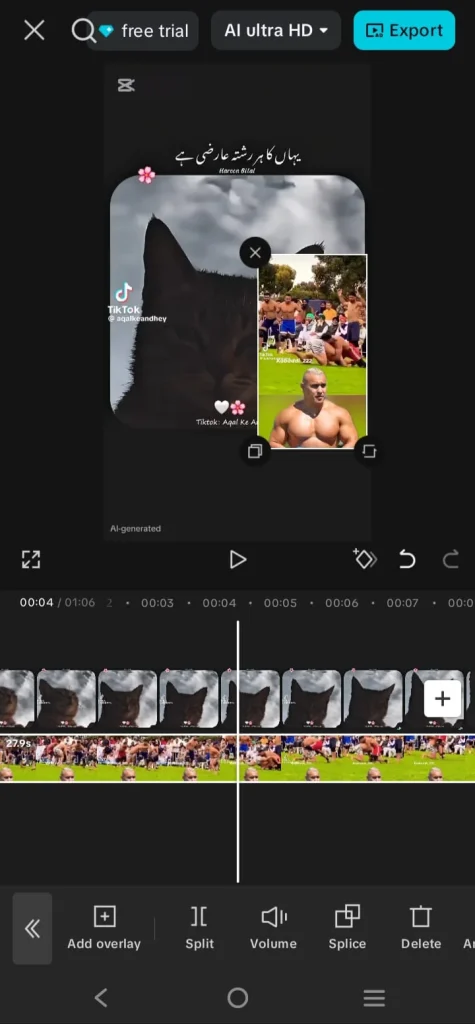
Step 3 – Adjust the Overlay’s Size and Position
- Use your fingers to pinch and resize the overlay.
- Drag it to your desired position on the screen.
- For tutorials or commentary, place it in a top corner so it doesn’t block important visuals.
💡 Pro Tip: Use a consistent placement for your overlays across videos to maintain a professional style.
Step 4 – Customize Your Overlay
CapCut offers several customization options:
- Opacity Control: Lower opacity for a soft, cinematic feel.
- Blend Modes: Experiment with options like Screen or Overlay for creative effects.
- Mask Tool: Shape your overlay into circles, rectangles, or custom shapes.
- Chroma Key: Remove a solid-colored background (perfect for green screen recordings).
Step 5 – Add Motion with Keyframes
If you want your overlay to move smoothly:
- Tap your overlay track.
- Use Keyframing to create motion paths (zoom in, slide across, rotate).
- This is perfect for dynamic storytelling and keeping viewers engaged.
Step 6 – Use Transitions for a Professional Look
- Apply Fade In and Fade Out so your overlay appears smoothly.
- Sync your overlay entrance with a music beat using CapCut’s Beat Sync feature.
Step 7 – Color Match Your Clips
- Apply the same filter or LUT to both the main video and overlay to make them visually cohesive.
- This creates a polished and cinematic feel.
Step 8 – Export Your Final Video
- Tap Export in the top right corner.
- Choose 1080p or 4K for best results.
- Set the frame rate to 60 FPS for smoother motion.
- Save or share directly to TikTok, Instagram, or YouTube Shorts.
Creative Ways to Use Overlays in CapCut
From my editing experience, overlays aren’t just for reaction videos. You can use them to:
- Make tutorials – Show your screen recording as the main video and your talking head as the overlay.
- Create gaming content – Combine gameplay footage with your live reactions.
- Produce cinematic edits – Blend travel footage with stock clips for emotional impact.
- Do before-and-after comparisons – Perfect for makeup, transformations, and renovations.
- Highlight multiple camera angles – Great for interviews or event coverage.
Expert Tips for Better Overlay Videos
- Plan your composition: Decide beforehand where your overlay will be placed.
- Keep it minimal: Too many overlays can clutter the screen and confuse viewers.
- Use captions: Add text to clarify your message or context.
- Match audio levels: If your overlay has audio, balance it with the main video’s sound.
- Test different formats: Square (1:1), vertical (9:16), and horizontal (16:9) depending on the platform.
“If you want to add extra style to your overlays, check our guide on CapCut Green Screen Effects to combine overlays with background removal.”
Common Mistakes to Avoid
- Poor resolution overlays: Always use high-quality clips for overlays.
- Unmatched color grading: If your overlay looks different from the background, it can feel unprofessional.
- Blocking important elements: Place overlays where they don’t cover the subject or main action.
Final Thoughts
Learning how to overlay videos in CapCut gives you creative freedom to make professional, eye-catching edits without expensive software. From YouTube commentary to TikTok trends, overlays can make your content stand out in a crowded feed.
CapCut makes this process beginner-friendly while offering enough advanced tools for professional creators. Once you master overlays, you can combine them with keyframes, transitions, and effects to produce videos that look like they were edited in high-end software.
So next time you’re creating content, experiment with overlays — they might just be the secret ingredient to your next viral video.
👉 “If you want even more control over your overlays, you can use keyframes in CapCut to make smooth transitions and animations.”