How to Record Screen Using CapCut? A Complete Guide
Ever wanted to record your screen to show a tutorial, gameplay, or app walkthrough — all without juggling multiple apps?
Good news: You can now record your screen using CapCut directly, especially when paired with its desktop version and integrated screen-capture tools.
This feature is a game-changer for content creators, educators, gamers, and reviewers who want to record, edit, and publish polished videos from a single platform.
In this step-by-step guide, you’ll learn how to record your screen in CapCut, how to edit it professionally, and tips to make your recordings look and sound amazing.

🧠 What Is Screen Recording in CapCut?
Screen recording in CapCut allows you to capture your screen activity — whether it’s a tutorial, presentation, or live gameplay — and instantly edit the footage in the same app.
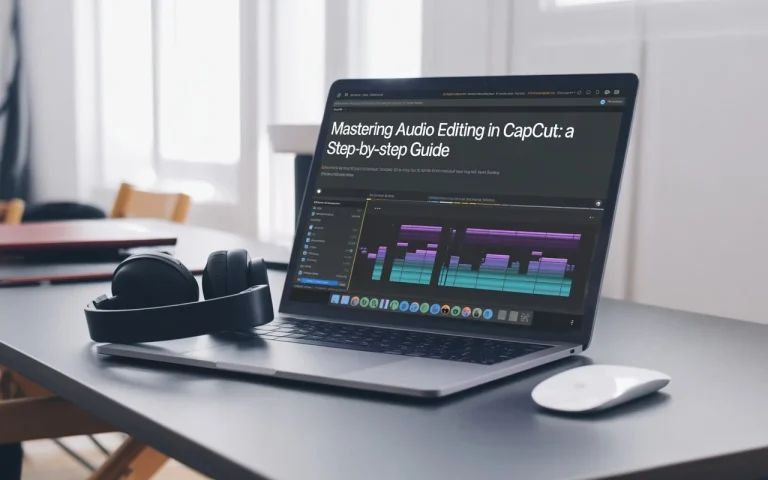
CapCut’s PC version (CapCut for Windows & Mac) now integrates screen-recording capabilities through its import and capture features, which make the process smoother and faster.
Once captured, you can:
- Add text, effects, or voiceovers.
- Overlay face-cam reactions.
- Use CapCut AI tools to enhance clarity and audio.
Essentially, it’s your record–edit–publish pipeline — all in one place.
⚙️ How to Record Screen Using CapCut on PC
Currently, direct screen recording is available only in the CapCut desktop version (Windows or Mac).
Here’s how you can use it effectively 👇
Step 1: Download and Install CapCut for PC
If you don’t have it yet, download it from the official site or get it here → CapCut for PC (Windows).
Once installed, open CapCut and sign in with your TikTok or CapCut account.
Step 2: Create a New Project
- Click “New Project.”
- Select the aspect ratio you prefer (16:9 for YouTube, 9:16 for mobile).
- Name your project (optional but helpful for organization).
Step 3: Enable the Screen Recorder
- Look for the “Record” or “Capture” icon on the top toolbar.
- Select “Record Screen.”
- Choose whether to record:
- Entire screen
- Specific window
- Custom area
🎧 Pro Tip: Turn on System Audio if you want your device sound recorded (useful for tutorials or gameplays).
Step 4: Record Your Screen
Click “Start Recording.” CapCut will begin capturing your screen immediately.
You can pause or stop anytime using the floating toolbar.
When done, your recording automatically appears in the Media panel — ready for editing.
Step 5: Edit Your Screen Recording
Now comes the fun part — editing your captured footage directly inside CapCut.
You can:
- Trim or split unwanted parts.
- Add transitions for smoother scene changes.
- Insert voiceovers or music to guide viewers.
- Highlight clicks or movements using overlays and animations.
To narrate your video, go to Audio → Voiceover → Record — then speak naturally while watching your playback.
Step 6: Export and Share
Once you’re done editing:
- Click Export.
- Choose the resolution (1080p or 4K) and frame rate (30fps or 60fps).
- Save to your device or upload directly to YouTube, TikTok, or Instagram.
CapCut automatically saves your recording as part of your project, so you can revisit or repurpose it later.
📱 Can You Record Screen Using CapCut Mobile?
While the CapCut mobile app doesn’t have a built-in screen recorder (as of 2025), you can still use your phone’s default screen-record feature and then import that footage into CapCut for editing.
Here’s how 👇
For Android Users:
- Swipe down and tap Screen Recorder (on Samsung, Xiaomi, or Oppo devices).
- Record your activity or tutorial.
- Open CapCut → Tap New Project → Import the recording.
For iPhone Users:
- Go to Settings → Control Center → Add Screen Recording.
- Swipe down from the top-right → Tap the Record button.
- Once done, your recording saves to Photos → import it to CapCut.
You can now enhance your phone recordings using CapCut’s:
- Auto Captions
- Audio Enhancer
- Transitions & Overlays
- AI Filters for cleaner visuals
🎨 Editing Tips for Perfect Screen Recordings
- Add a Face-Cam Overlay – Record your webcam separately and add it in the corner for a personal touch.
- Use Zoom & Pan – Focus on key actions or buttons using the “Motion” tool.
- Highlight Cursors or Clicks – Use light or color animations to draw attention.
- Add Captions or Subtitles – Use Auto Caption for accessibility and better engagement.
- Improve Audio Quality – Apply the Noise Reduction tool to remove background hums.
🧩 Combine Screen Recording with CapCut AI Tools
CapCut’s AI suite can take your recording from basic to brilliant. You can:
- Use AI Video Translator to make tutorials multilingual.
- Try Text-to-Speech (TTS) for automatic narration.
- Apply AI Filters to clean up screen glare.
Check out this detailed article on Explore Top CapCut AI Features to learn more.
🚀 Why Use CapCut for Screen Recording and Editing?
Unlike standalone screen recorders, CapCut gives you an end-to-end workflow — capture, edit, enhance, and export — all in one.
Key Benefits:
- ✅ No watermark (on exported videos).
- 🎧 Integrated voiceover and AI dubbing tools.
- 💻 Easy timeline editing with drag-and-drop simplicity.
- 🎞 Professional filters and effects for screen tutorials.
- 🌐 One-click sharing to TikTok, YouTube, and Instagram.
This makes it ideal for teachers, YouTubers, developers, gamers, and digital marketers.
FAQs
Final Thoughts
Recording your screen with CapCut gives you the freedom to create, teach, and share without switching between multiple tools.
Whether you’re making YouTube tutorials, gaming videos, or professional demos, CapCut’s built-in screen recording (on PC) and advanced AI editing tools make the process seamless.
You don’t need complicated software — just record, edit, enhance, and share.
CapCut empowers creators to bring their ideas to life effortlessly with stunning visuals and crystal-clear sound.
Download CapCut for PC today and start creating tutorials, gameplay videos, or screen recordings like a pro.
Want more creative power? Try the CapCut Mod APK to unlock premium tools, templates, and export options — all without ads or watermarks.🎬 Create. Edit. Share. Repeat. Your next viral video starts with CapCut.